HTML coding. Think it’s easy, think again? It is one of the most complicated things I have ever seen. All throughout my maker project, making a non-profit website to help raise money for the underfunded schools in AISD, I’ve taken things more from an artistic standpoint while my partner Allegra is more of the statistical person. So we made an unspoken agreement that I work with formatting and design of the website and Allie works more on the coding and the actual making of the website. It’s a bit complicated but we both have our strong suits and we’re sticking to them.
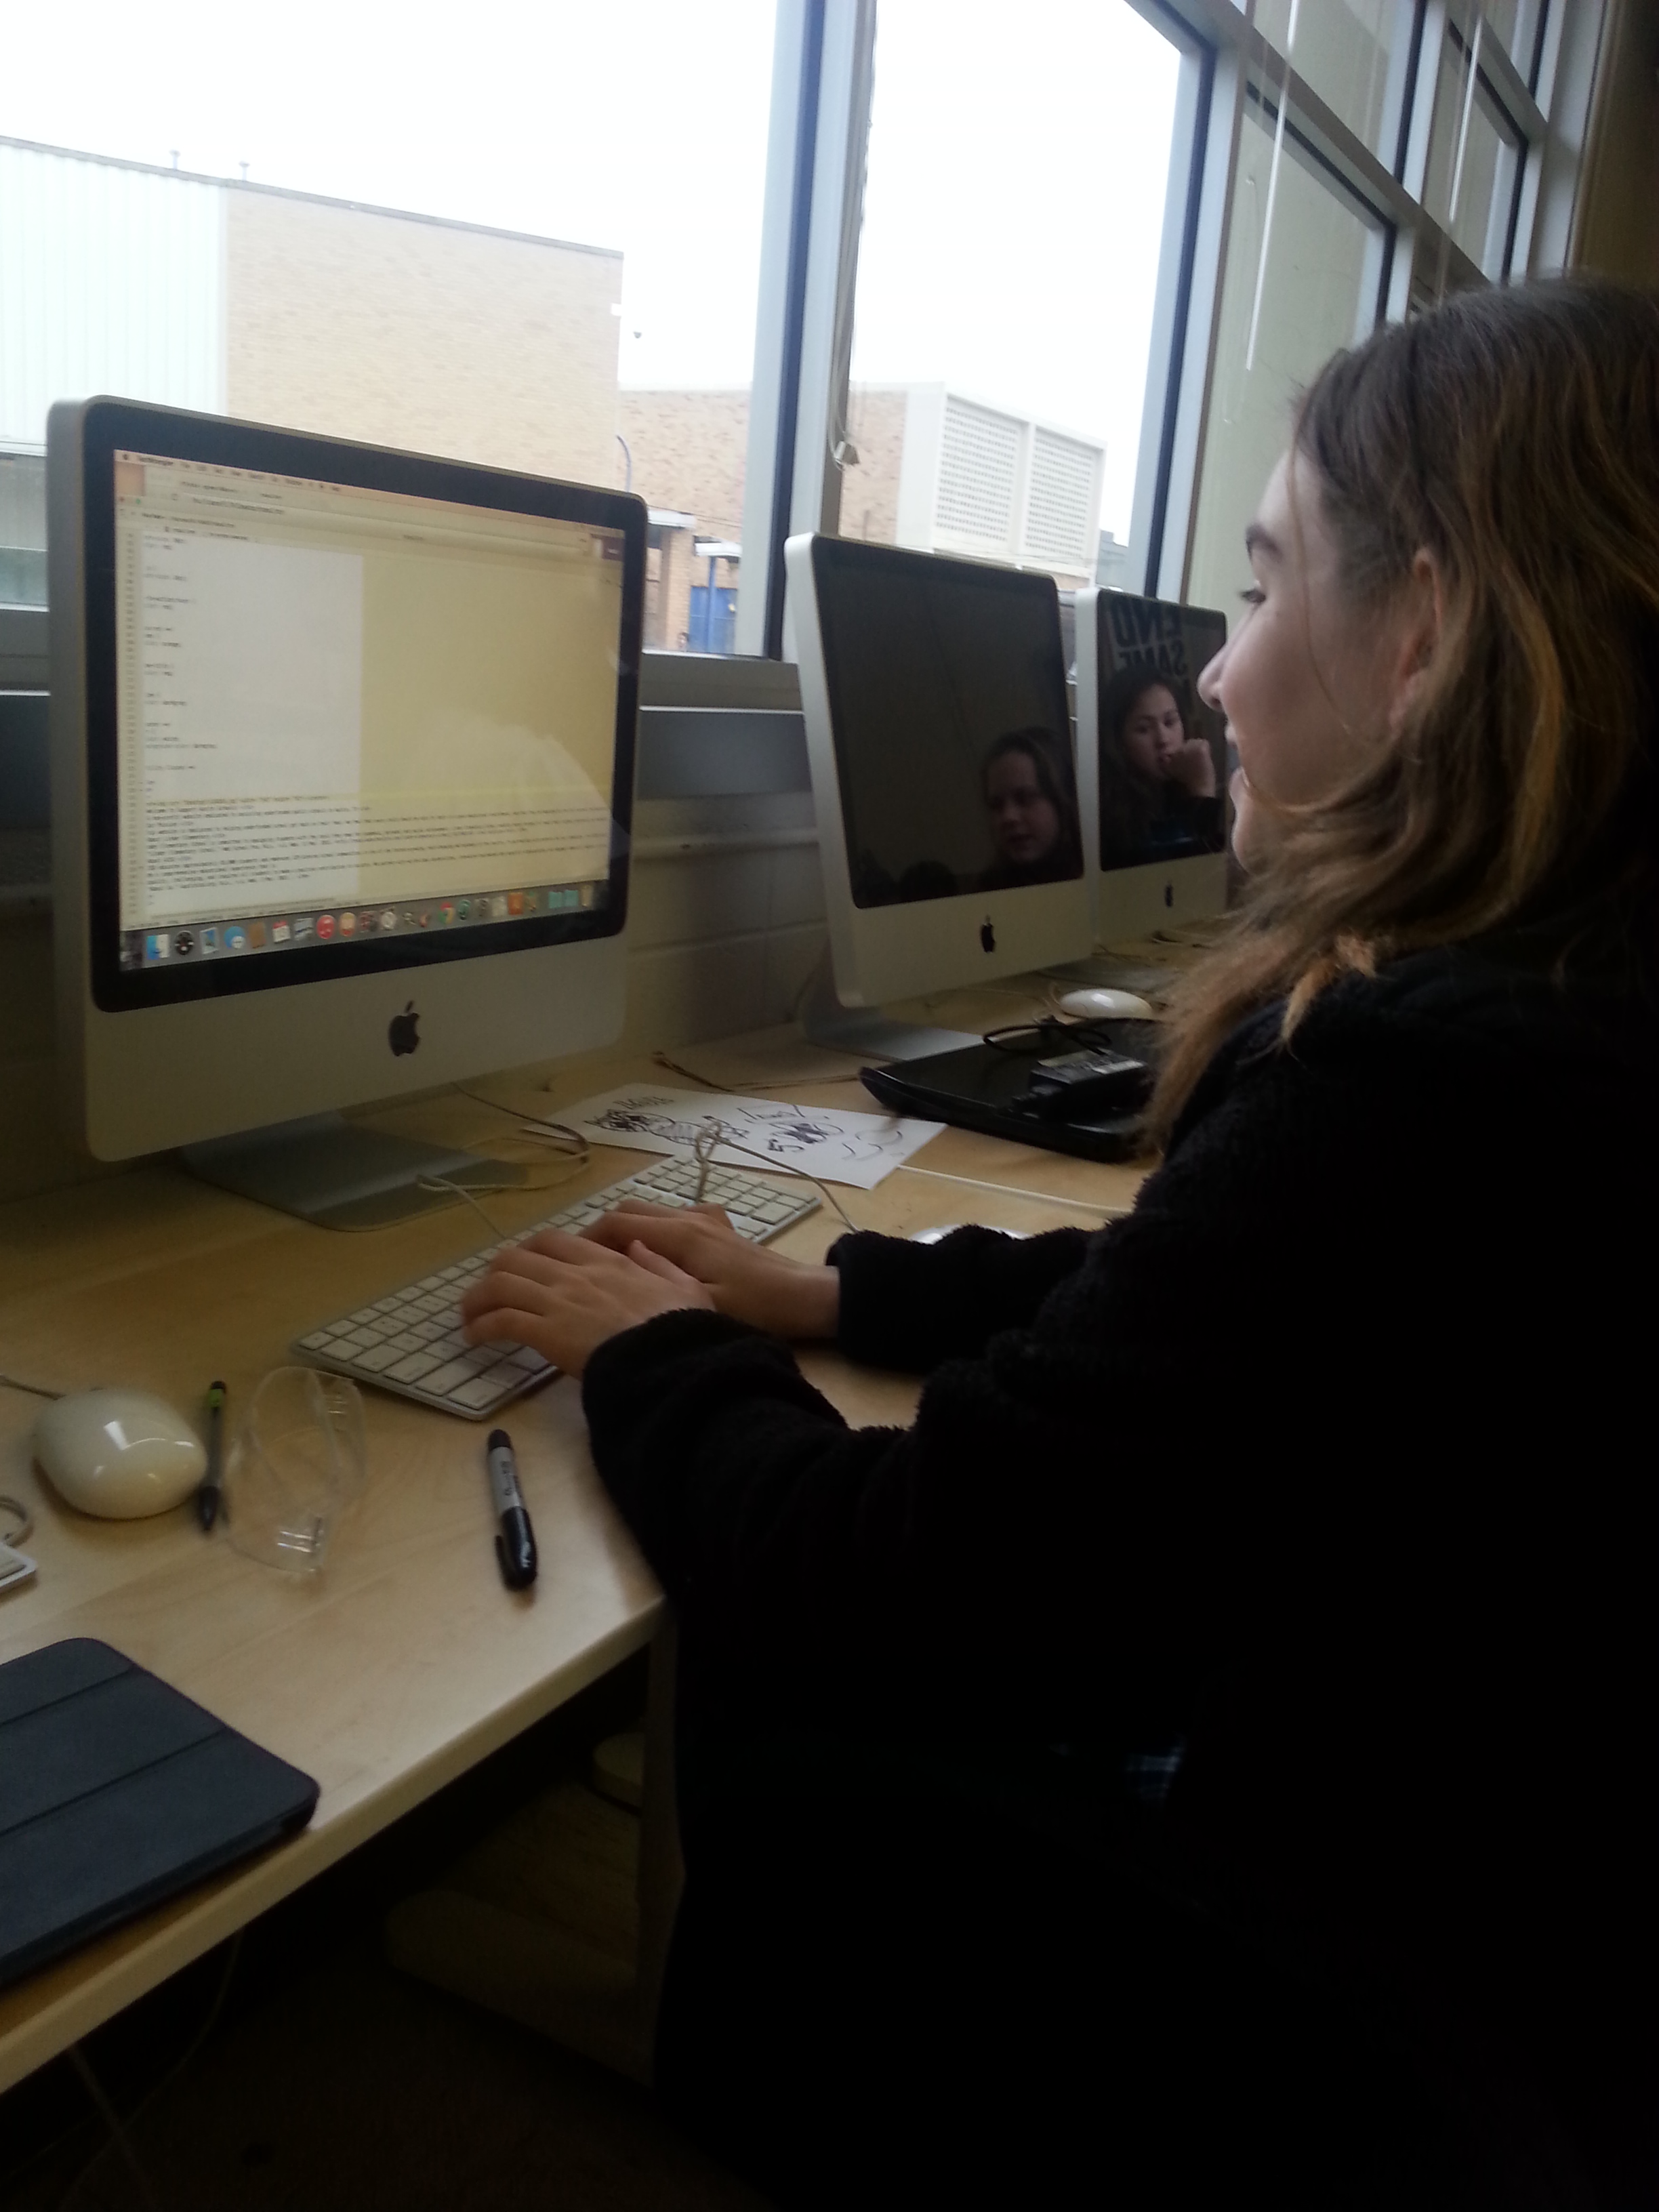
Allegra working on the code for our website.
So Allegra and I were originally going to design the website on Photoshop, which I am fairly familiar with. We got pretty far but eventually had to change our tactic. We moved to coding on WordPress. This was going to be a bit more difficult because neither of us knew anything about coding. At all. So it was like entering a stalactite and stalagmite filled cave blindfolded. We had no idea what we were doing. But with the help of our teacher, Ms. Sauter, and a really big book on HTML coding we’ve gotten a lot of work done and made some real progress on the website so far.
I don’t know much about the coding myself but I do know that it is very complicated. Allegra is using something called CSS and I’m not exactly sure what it is. But after we got most of our text done on the website, we decided to add in the logo that I created on Photoshop. We’re still trying to complete this due to technical difficulties with our code but we’re getting somewhere.
After adding the logo we plan on making the website have a drop down bar type format to learn different things about each school that we are supporting. We still haven’t figured out how to do this yet but we plan on getting it done. Hopefully we can improve the ability for students to learn in a happy environment.
Darby B.