By Izabella Matheson
Ever heard the phrase, “build a bridge and get over it”? Surely you have, but do you actually know how to build a bridge? I can happily say that I do! Now, I wouldn’t refer to myself as a natural born architect or anything, and I still found constructing the bridge to be not only enjoyable, but also fairly simple, so I encourage everyone to give it a shot, even if it may not seem up their alley.
In my GTT class, which stands for Gateway To Technology, we must choose a different module every few weeks to work on in class with a group. I decided to try the engineering module for my second module about a month ago, wanting to try something new because, hey, maybe it would be fun? I can honestly say that it was indeed, fun.
I remained with my same partners from the previous module I completed, named, Zoe, Zoë, and Cloa, so I was excited to work with them again. Unfortunately, I was absent the first day of in class work and I missed the first challenge, which was to interview a high schooler in the engineering program at our school, but my group was there for me and did the assignment and filled me in on what I had missed. After that, we began formulating ideas for our bridge, beginning with a design statement so we could understand the criteria of the bridge. The bridge had to weigh less than 40 grams, have a span of under 16 inches, and be made completely out of toothpicks, glue, and string.
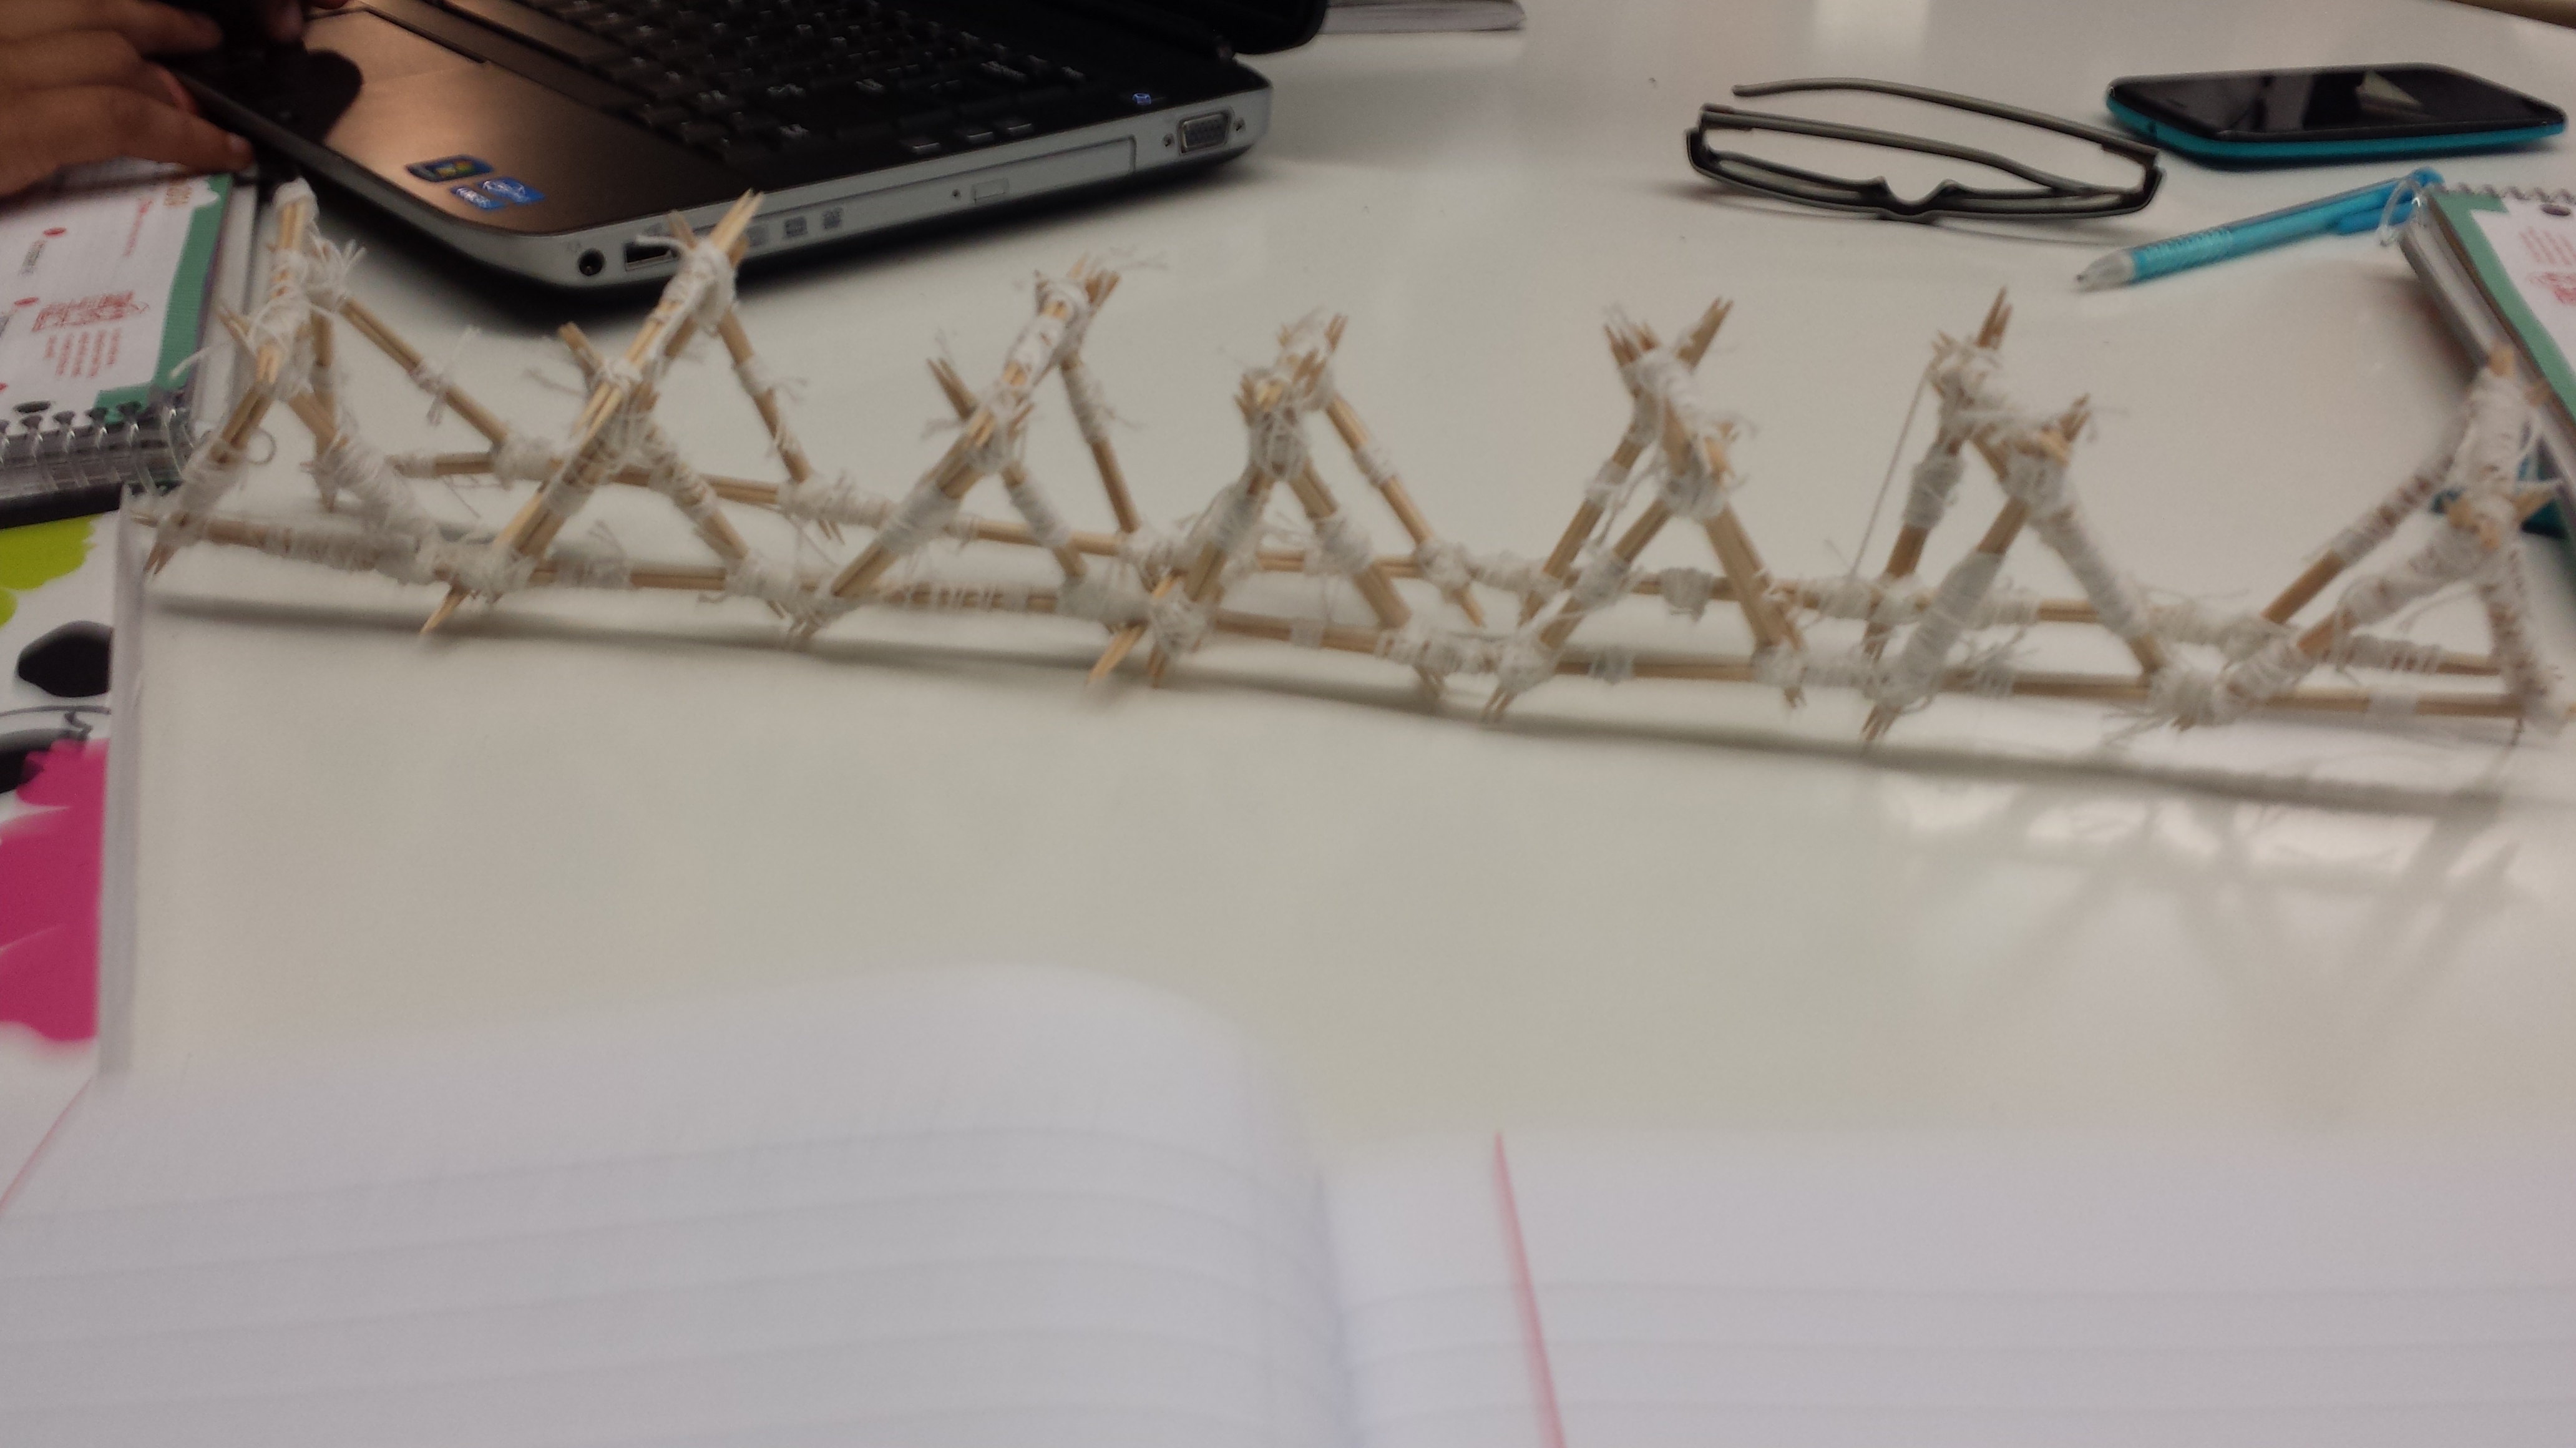
Our next step was to create a design matrix to help the four of us decide which bridge design would be the sturdiest and hold the most weight, which was the purpose of the module. After comparing two different designs, one being to give the bridge trapezoid shaped supports, the other to give the bridge triangle shaped supports, we decided the triangle structure would be the best choice as it would weigh less than the trapezoid design and would support more weight. After we made the decision, we got to work making triangular supports and the rest of the bridge by glueing toothpicks together, which proved to be quite a messy task.
Then, being the strategic geniuses we are and seeing how the glue was taking quite a while to dry, we borrowed a hair drier and used it to speed up the drying process. After the pieces of the bridge were dry, we tied them together with string and put the finishing touches on it, and then, we were done! I believe I speak for everyone in my group when I say that I felt so much pride in completing the bridge. However, personally, I was also a little relieved that I was no longer going to be going home picking glue off of my palms anymore.
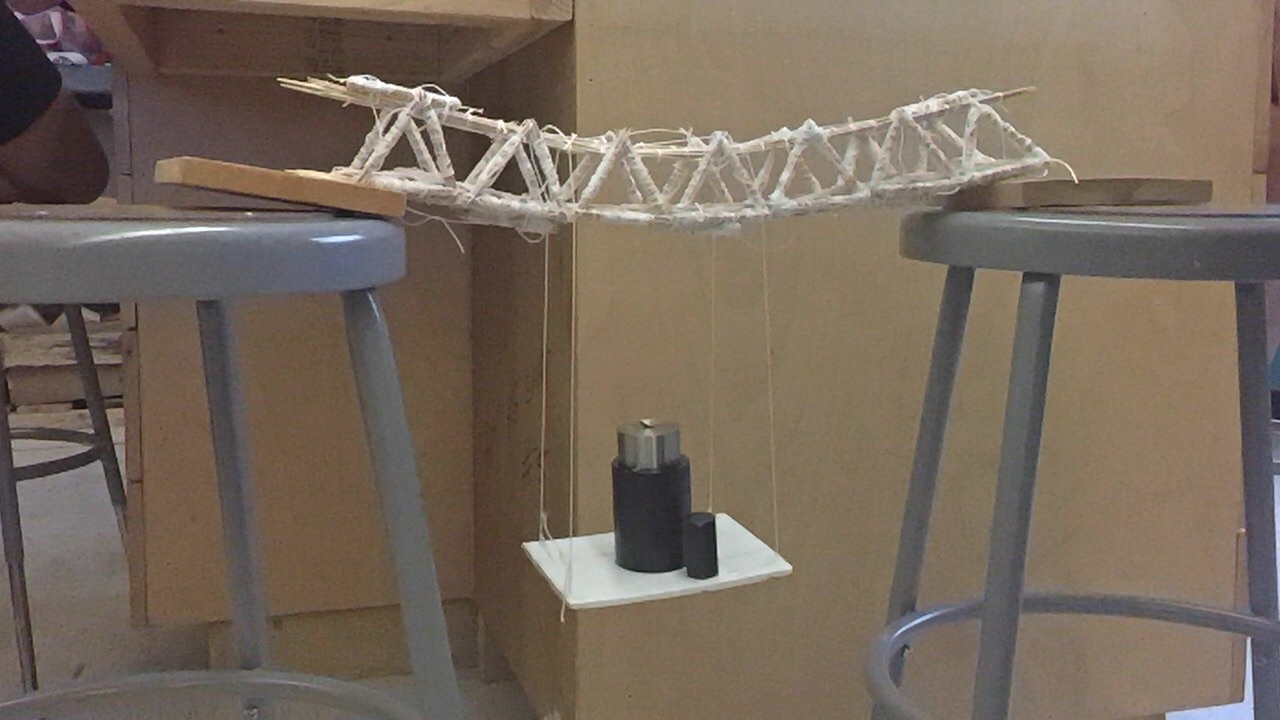
There was still one thing, though: we needed to test how much w eight our bridge could hold. We tested our bridge and found that it could support 2,600 grams of weight, which truly was astonishing and filled me with pride once more. I was glad I took the opportunity to try something new, because throughout the whole process, I actually had fun.
 The second part of building a toothpick bridge is starting to put it together. Which means you look at the technical drawing and see how you design it. You then start creating your bridge the way you plan it, with only string, glue, and toothpicks.
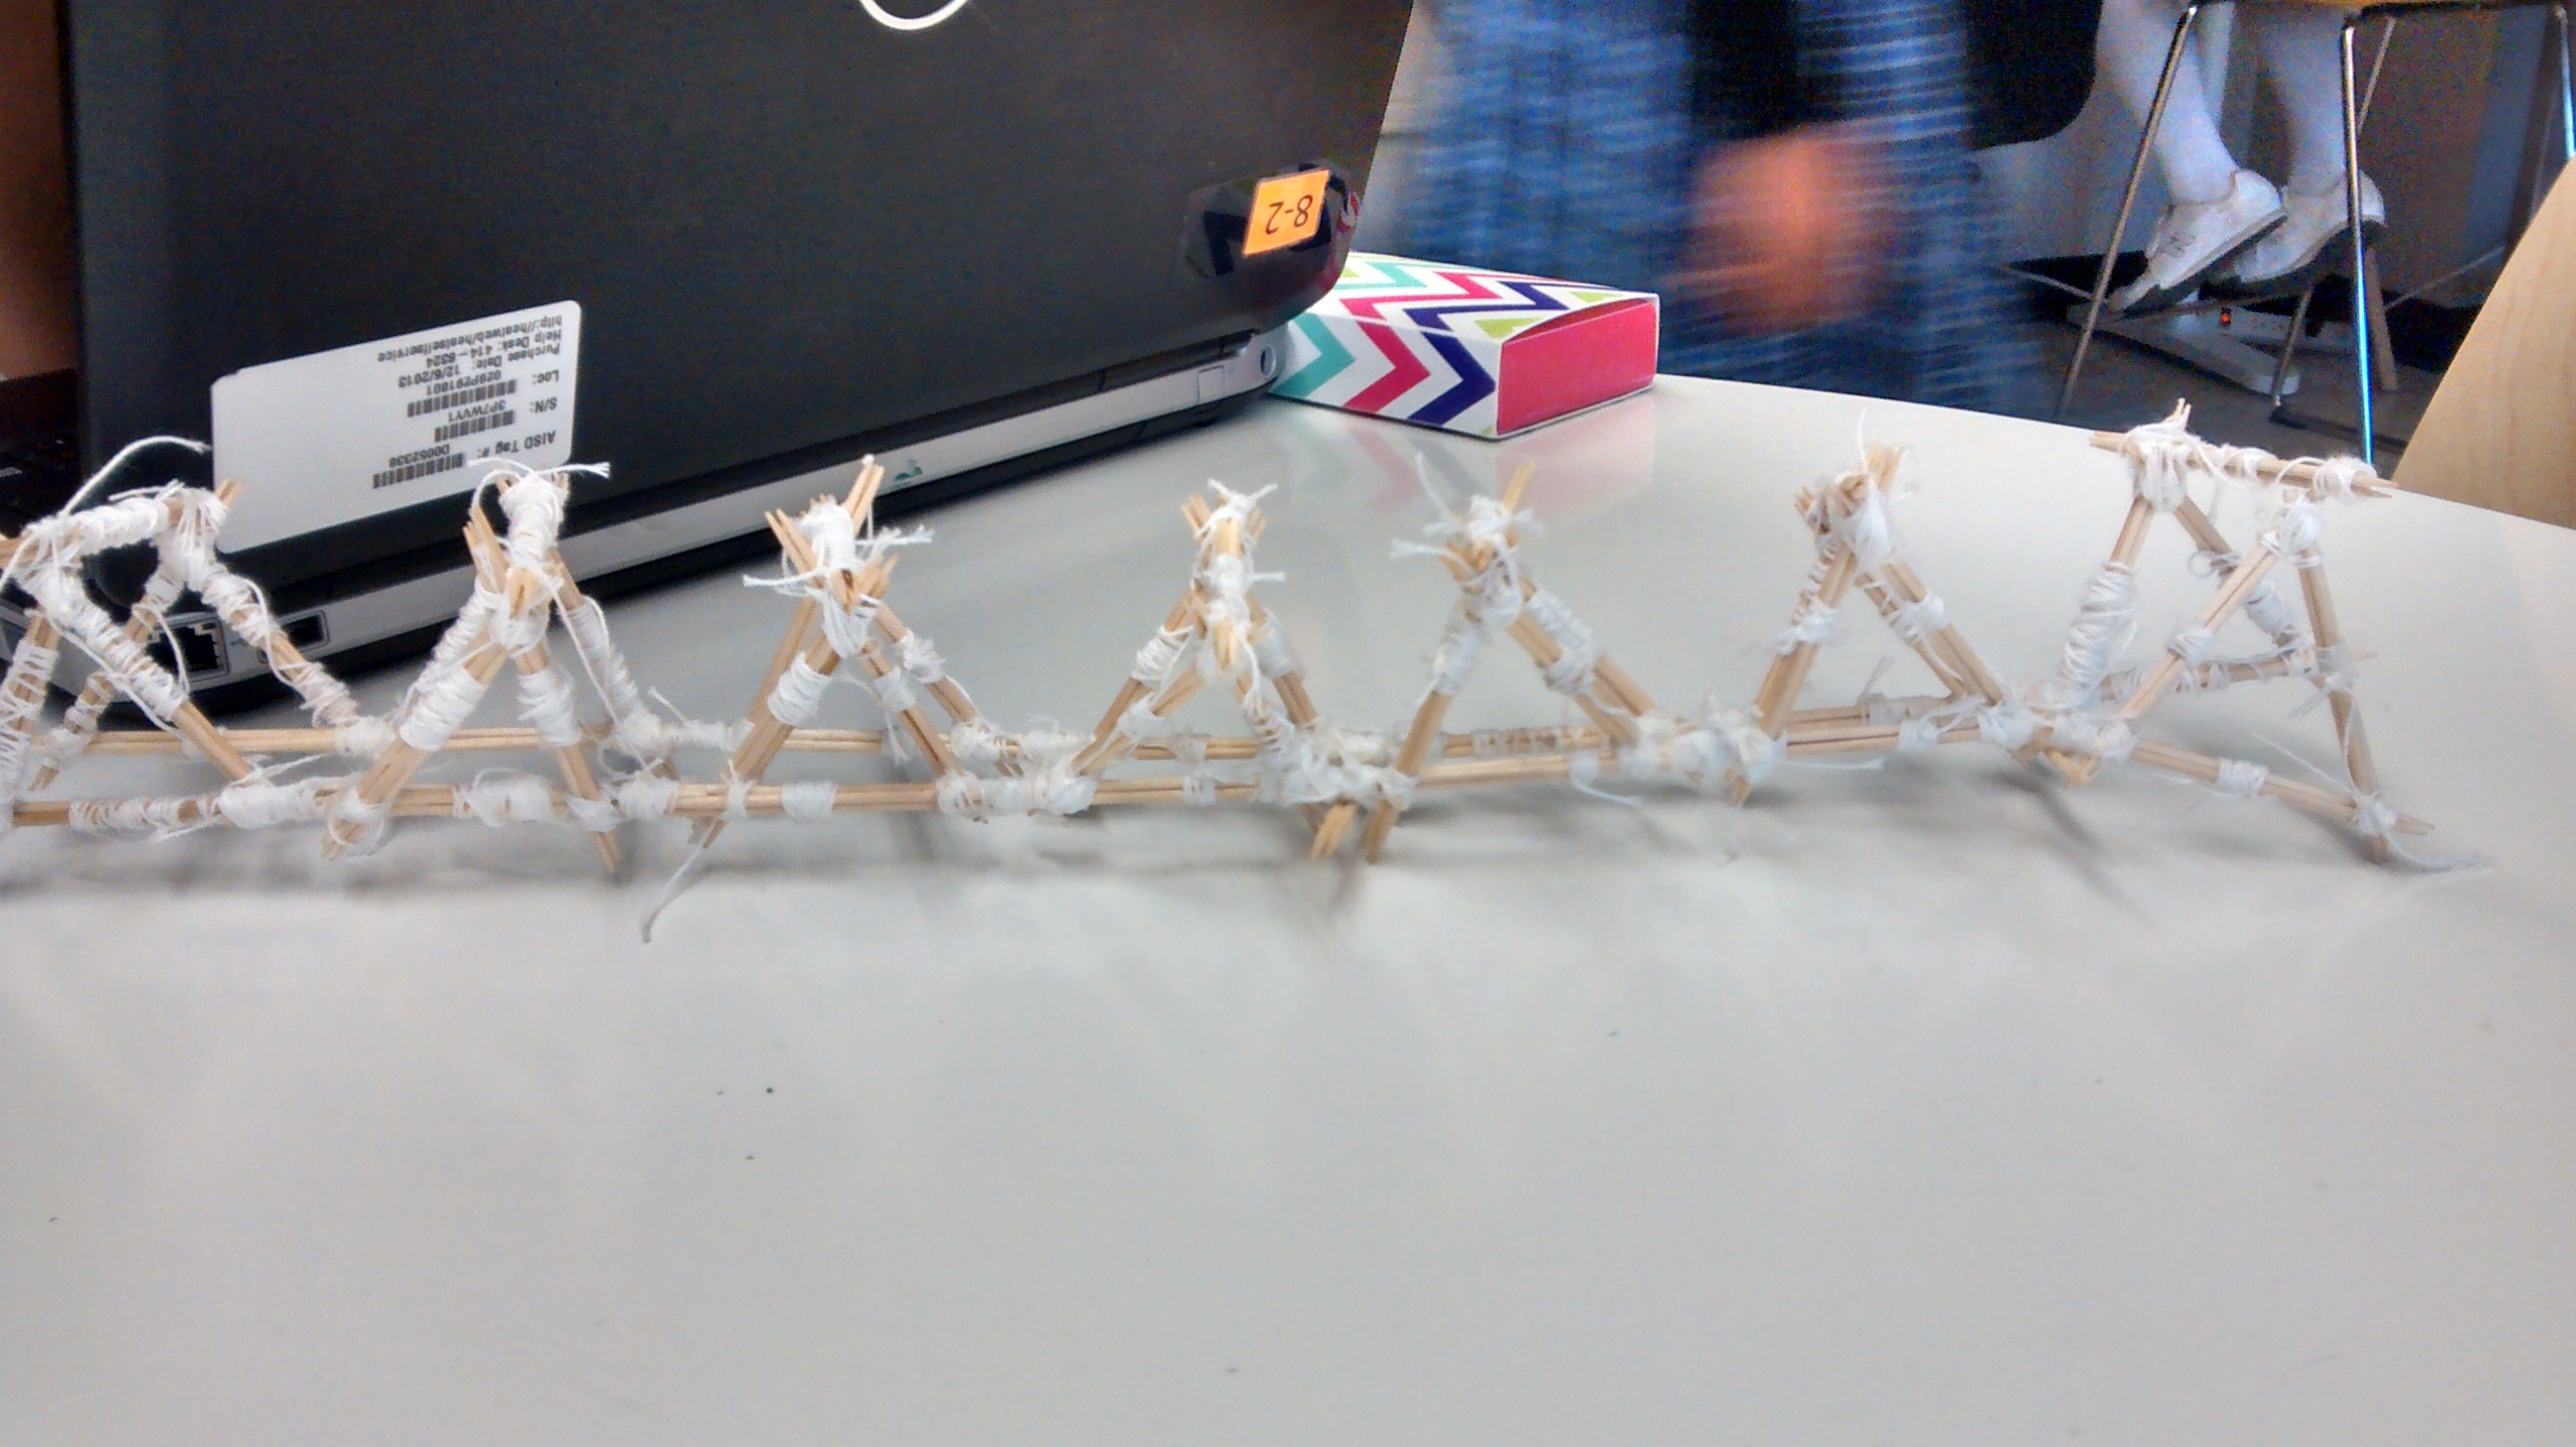 The last part you locate your bridge in the platform and the start putting grams on it to see how much it would hold. When the bridge collapse see how much it hold and then write down your testing report and done.