Prototyping?? Whatttttt.
Have you ever made anything, and just gone straight to making the final piece? What happened to what you made? Did it go as you planned? Usually, when we do projects we’re asked to ‘just go for it’. But, what if it messes up? What if it turns out to be a disaster the night before it was due? This is why we have the idea of prototyping. We replicate the final project so we’re not left with a mess.
What is a prototype? A prototype is a replica of your final piece, where you can test out flaws. Since it’s made out of cheap materials you can fix your issues and correct it. So when you go to make your final product, you have already fixed what you know would’ve gone wrong. As 8th graders, last year we did a really big project where we had to design lawn ornaments for a client. We couldn’t just make something out of the blue, we had to go interview someone and collaborate making the idea our own. We started out we by brainstorming and sketching our ideas out. It did take us a while, but was worthwhile. Our final piece was successful. You could say that a lot of people thought the process we used to develop our ideas was a big waste of time. But after we had finished, some of us realized, that if we hadn’t made our prototypes, some of our project would’ve failed miserably. If we hadn’t practiced using the saw to cut our designs out of the wood, and had just gone and cut with our final pieces of wood, the people with the more intricate designs’ boards would’ve broken.
Why Prototype?
- It’s cheap, so if you mess up it’s not like you just wasted a lot of money.
- You can see all the flaws you have
- You can correct those flaws
- Your final piece will be flaw-free
There are many ways to make a prototype. You can use any materials you want. Sometimes the materials you want can change, so be open to new materials. You start your prototype up by first making a technical drawing, that shows a scale model of your vision with dimensions so you know how to make it! You can also transfer your invention into a 3D software, such as Inventor or Google Sketch Up. Once you have created your visual included with dimensions you need to make a materials list. Always have a budget in mind so you don’t over spend! Remember, your prototype is a first model of your final product, you don’t want to spend too much money on it, and plus, what if your invention is faulty! Then take your materials and build your prototype! Sometimes, your invention can be very tricky. Certain people tend to hire professional prototypers, who are specialized in making, well prototypes! But those people cost a lot!
Here are some prototypes of things you see a lot

A polaroid Camera |
||
An ipad |
A guitar |
How will we use it?
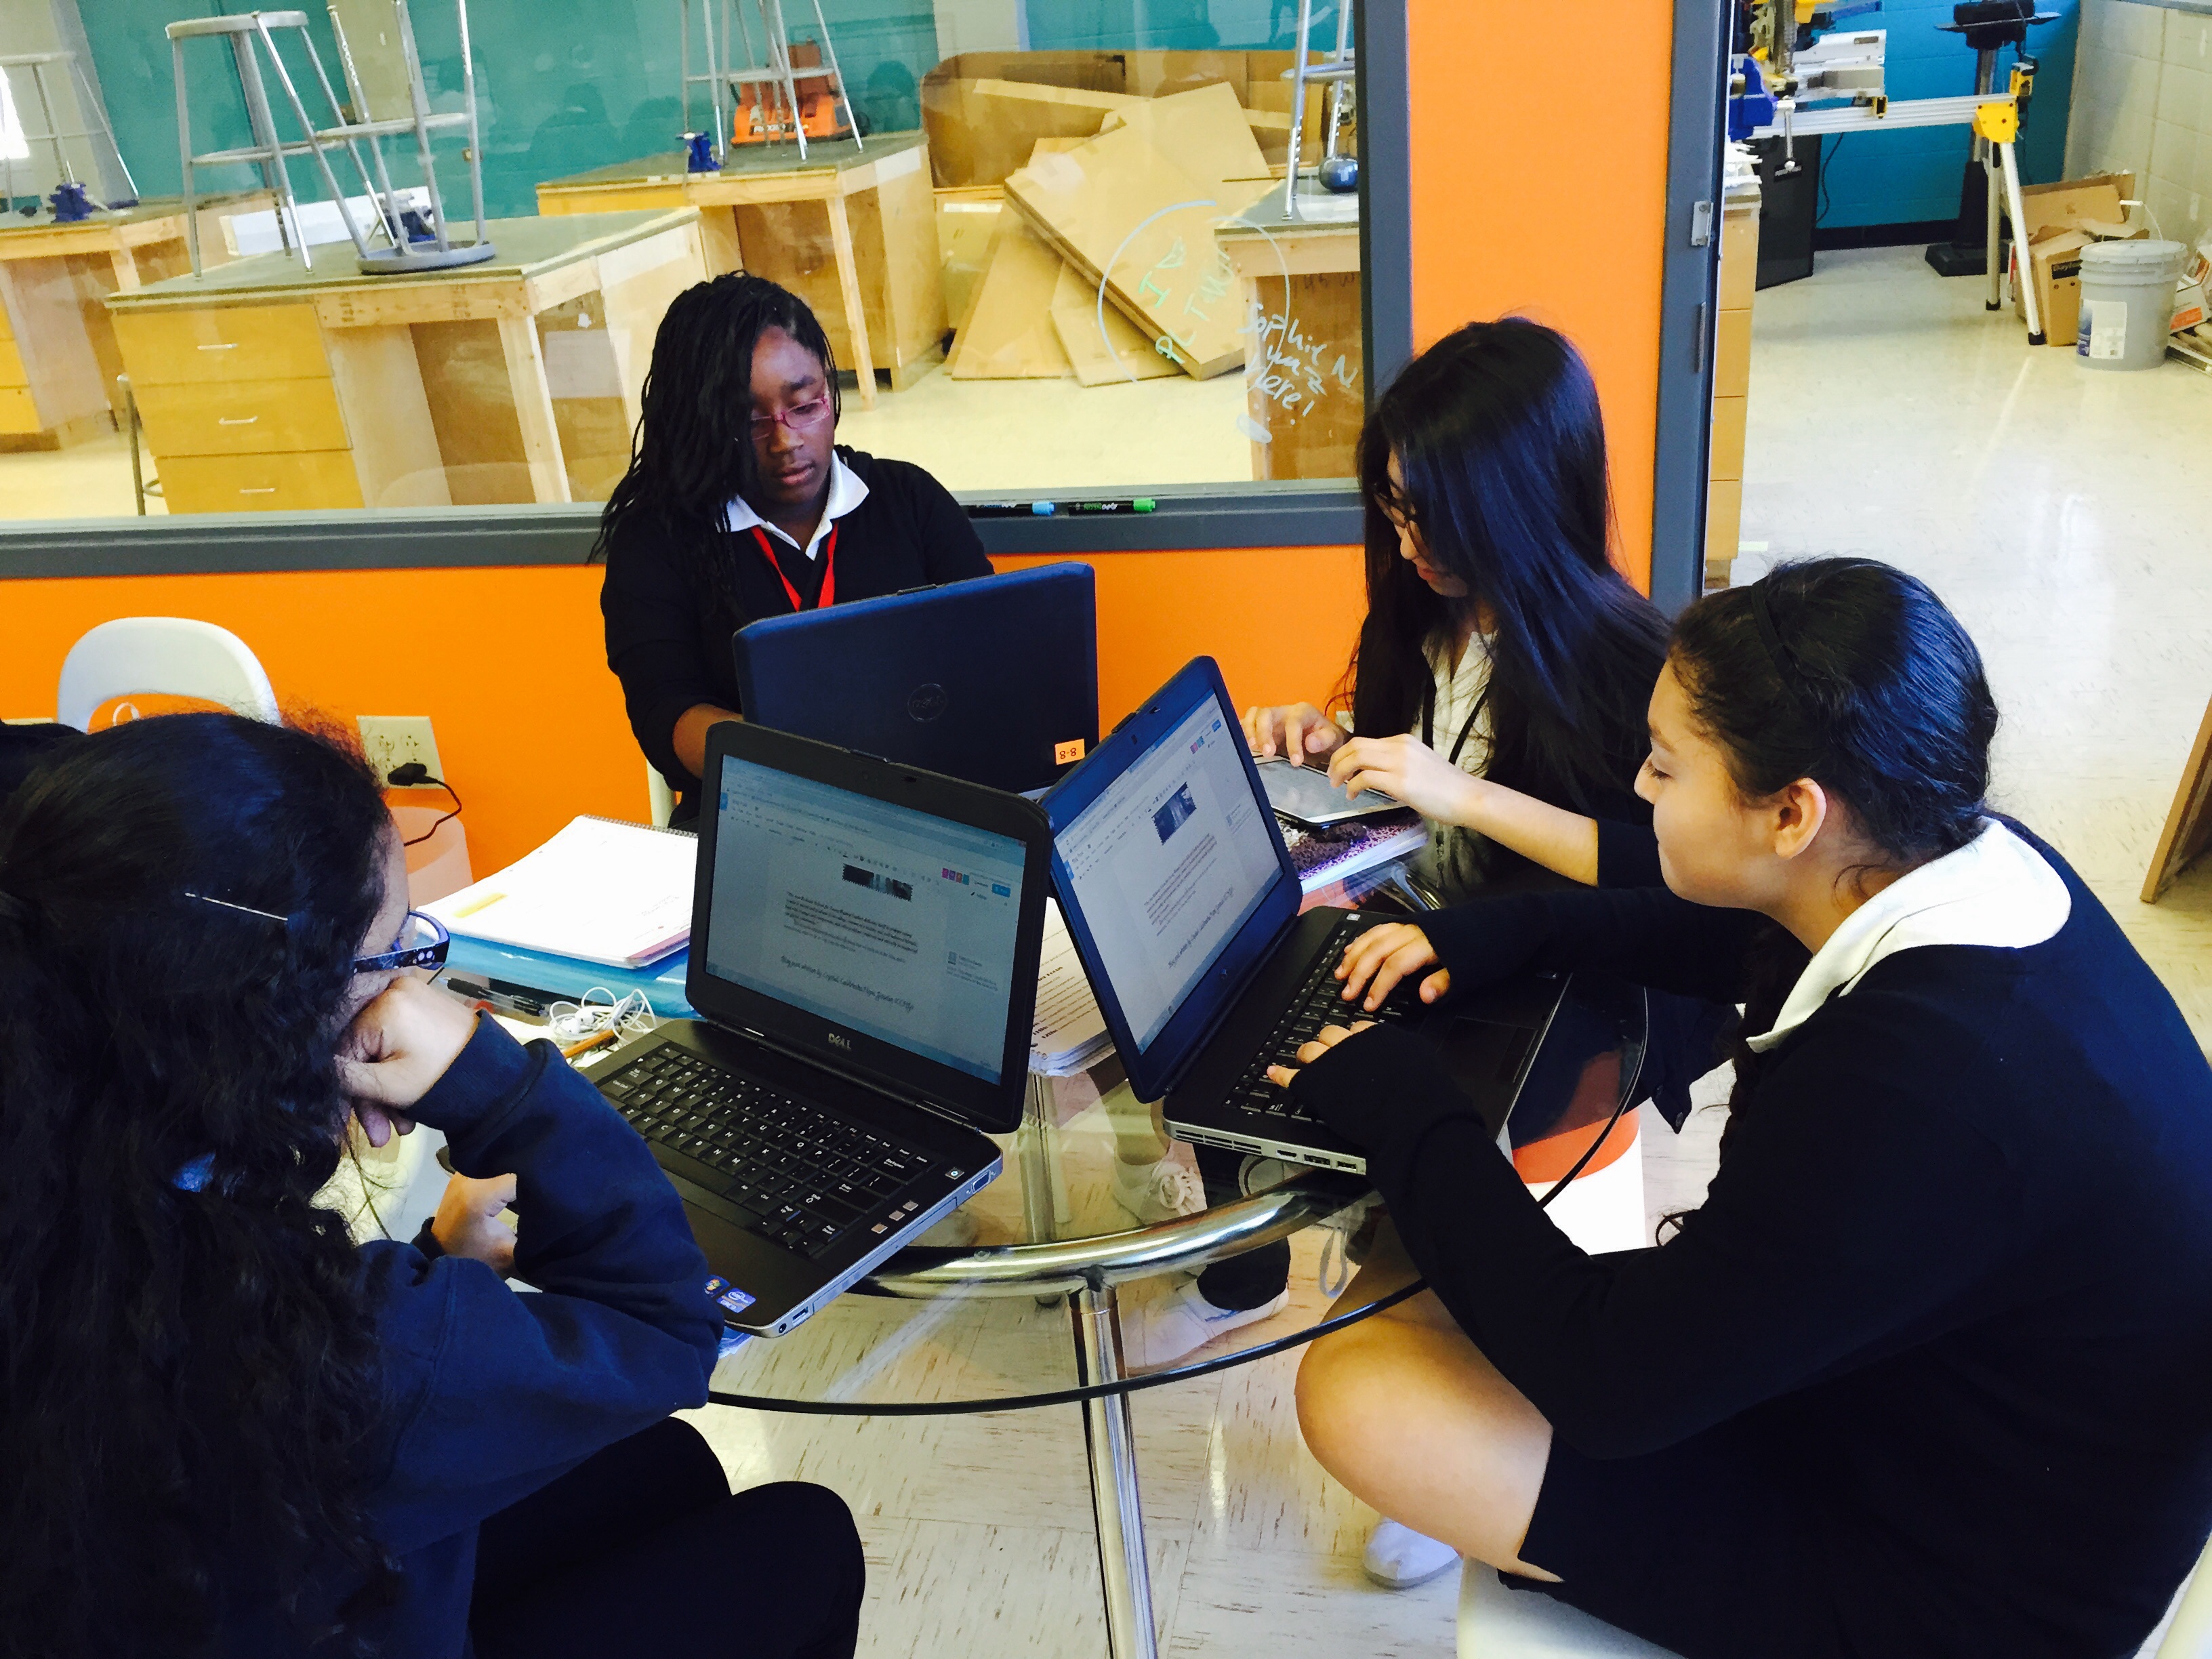
When we do modules we are given challenges, usually one is an independent challenge and the other one is a group challenge. For our group challenges we usually have to make something. We have to go through a process. Weprototype everything we do. Even this blog post is a prototype. We are fixing it as we go along. We make a replica of everything we post so we can fix it, and make sure our final product that is getting graded isthe best possible.
Later on in the year, we will apply to make a makers project. We will use the design process to invent something that will beuseful to our basic needs. In order to make this idea a reality we will have to test out our ideas by making a prototype. If we decided to just go ahead and produce our final product, we would see that we would have ended up with a lot of flaws. If we used expensive materials, we would’ve just wasted a lot of money. So, prototyping as a whole is a great thing. We can fix what we need to on a replica of your idea. No harm done.
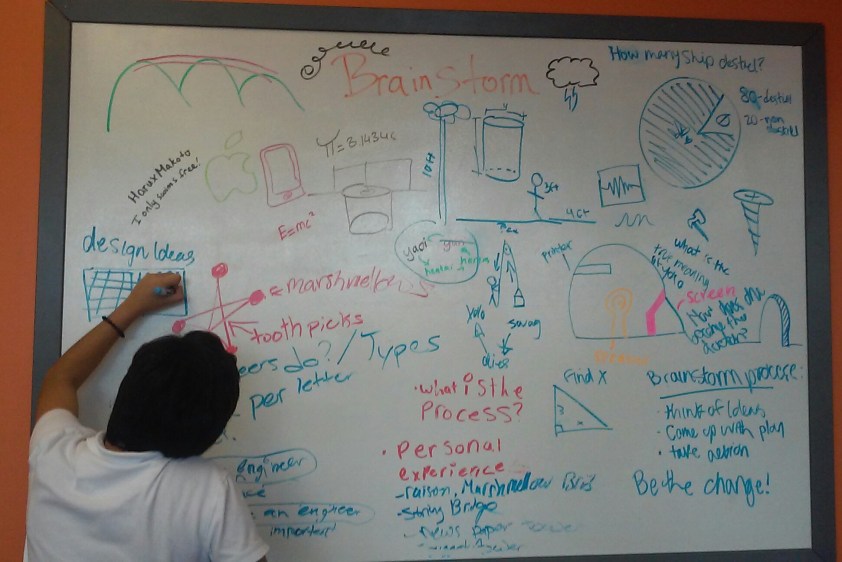
 instructions on the process we should go through to solve it. We had to figure out what we were going to do to solve it and how to execute our plan. The first step in this process was to create a design brief. These are extremely helpful when you’re trying to come up with an idea, because they put all of the basic information you need in one place. They make you think about the little things, too. Who’s our client? What are we going to be turning in? When is it due? Answering all of these things will help significantly in the long run for each project. After finishing this, we needed to start brainstorming solutions.
 even the most ridiculous and unreasonable ones. Some of the things we came up with were so bad we would sit and laugh at the stupidity. This is still all part of the process, though. To come up with something good, you have to start with something bad and work from there. If you really want to come up with something good, think about other products that are used to do something similar to what you’re trying to do. For example, we had to get something out of a deep hole. What’s another tool used to do this? A well, so we thought of a similar invention that could be used to get a cat out rather than water.
 person, not just your own, so don’t be too crazy, because your ideas suppose to relate to the design or problem statement. When they’re all written down, come up with categories you want to test the usefulness of each product by. For ours, we included variables such as cost, safety, durability, reliability, and time. Each of these is a factor that should be thought about when choosing a final product.
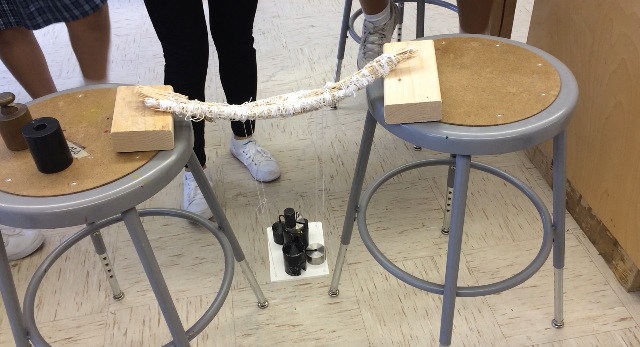


 to let us bring our own devices so we could have a bit more freedom in school, to learn how to use it appropriately, and increase the positive use of technology in the classroom. Also then we won’t have to go through the process of using a school laptop or iPad. Those devices usually don’t work or take a lot of time to load, wasting our class time. Also our school noticed even before we started the BYOD policy how much we were using our own devices to do homework, projects, and class work. We decided to write this blog about the BYOD policy, to help everyone understand it. Below, we made a list of Pros and Cons on the BYOD policy.
 we borrowed Mrs. Sauter’s tripod, and headed outside to start filming. We started filming, and talking to the camera became very natural for us. After we finished filming we imported all the video clips we filmed and started editing. The editing was the hardest part for us, it was tough to incorporate three people into the editing process on one computer. Since we already had a bit experience editing we managed to edit well and make an awesome video. We used the song, ‘Smile Bright’ by Letters and Lights in the background of our video. Overall we tried to make our video original but also formal! We had so much fun filming and editing the video.