The reason for this module is to teach us the different types of tools there are and how to use them.
The way we started this module is by doing a pop quiz on all of tools,putting the names to the descriptions and matching numbers on the tools and seeing if they were the right ones for the name. This wasn’t that complicated but it took knowing all the names for the tools and knowing what they are used for.
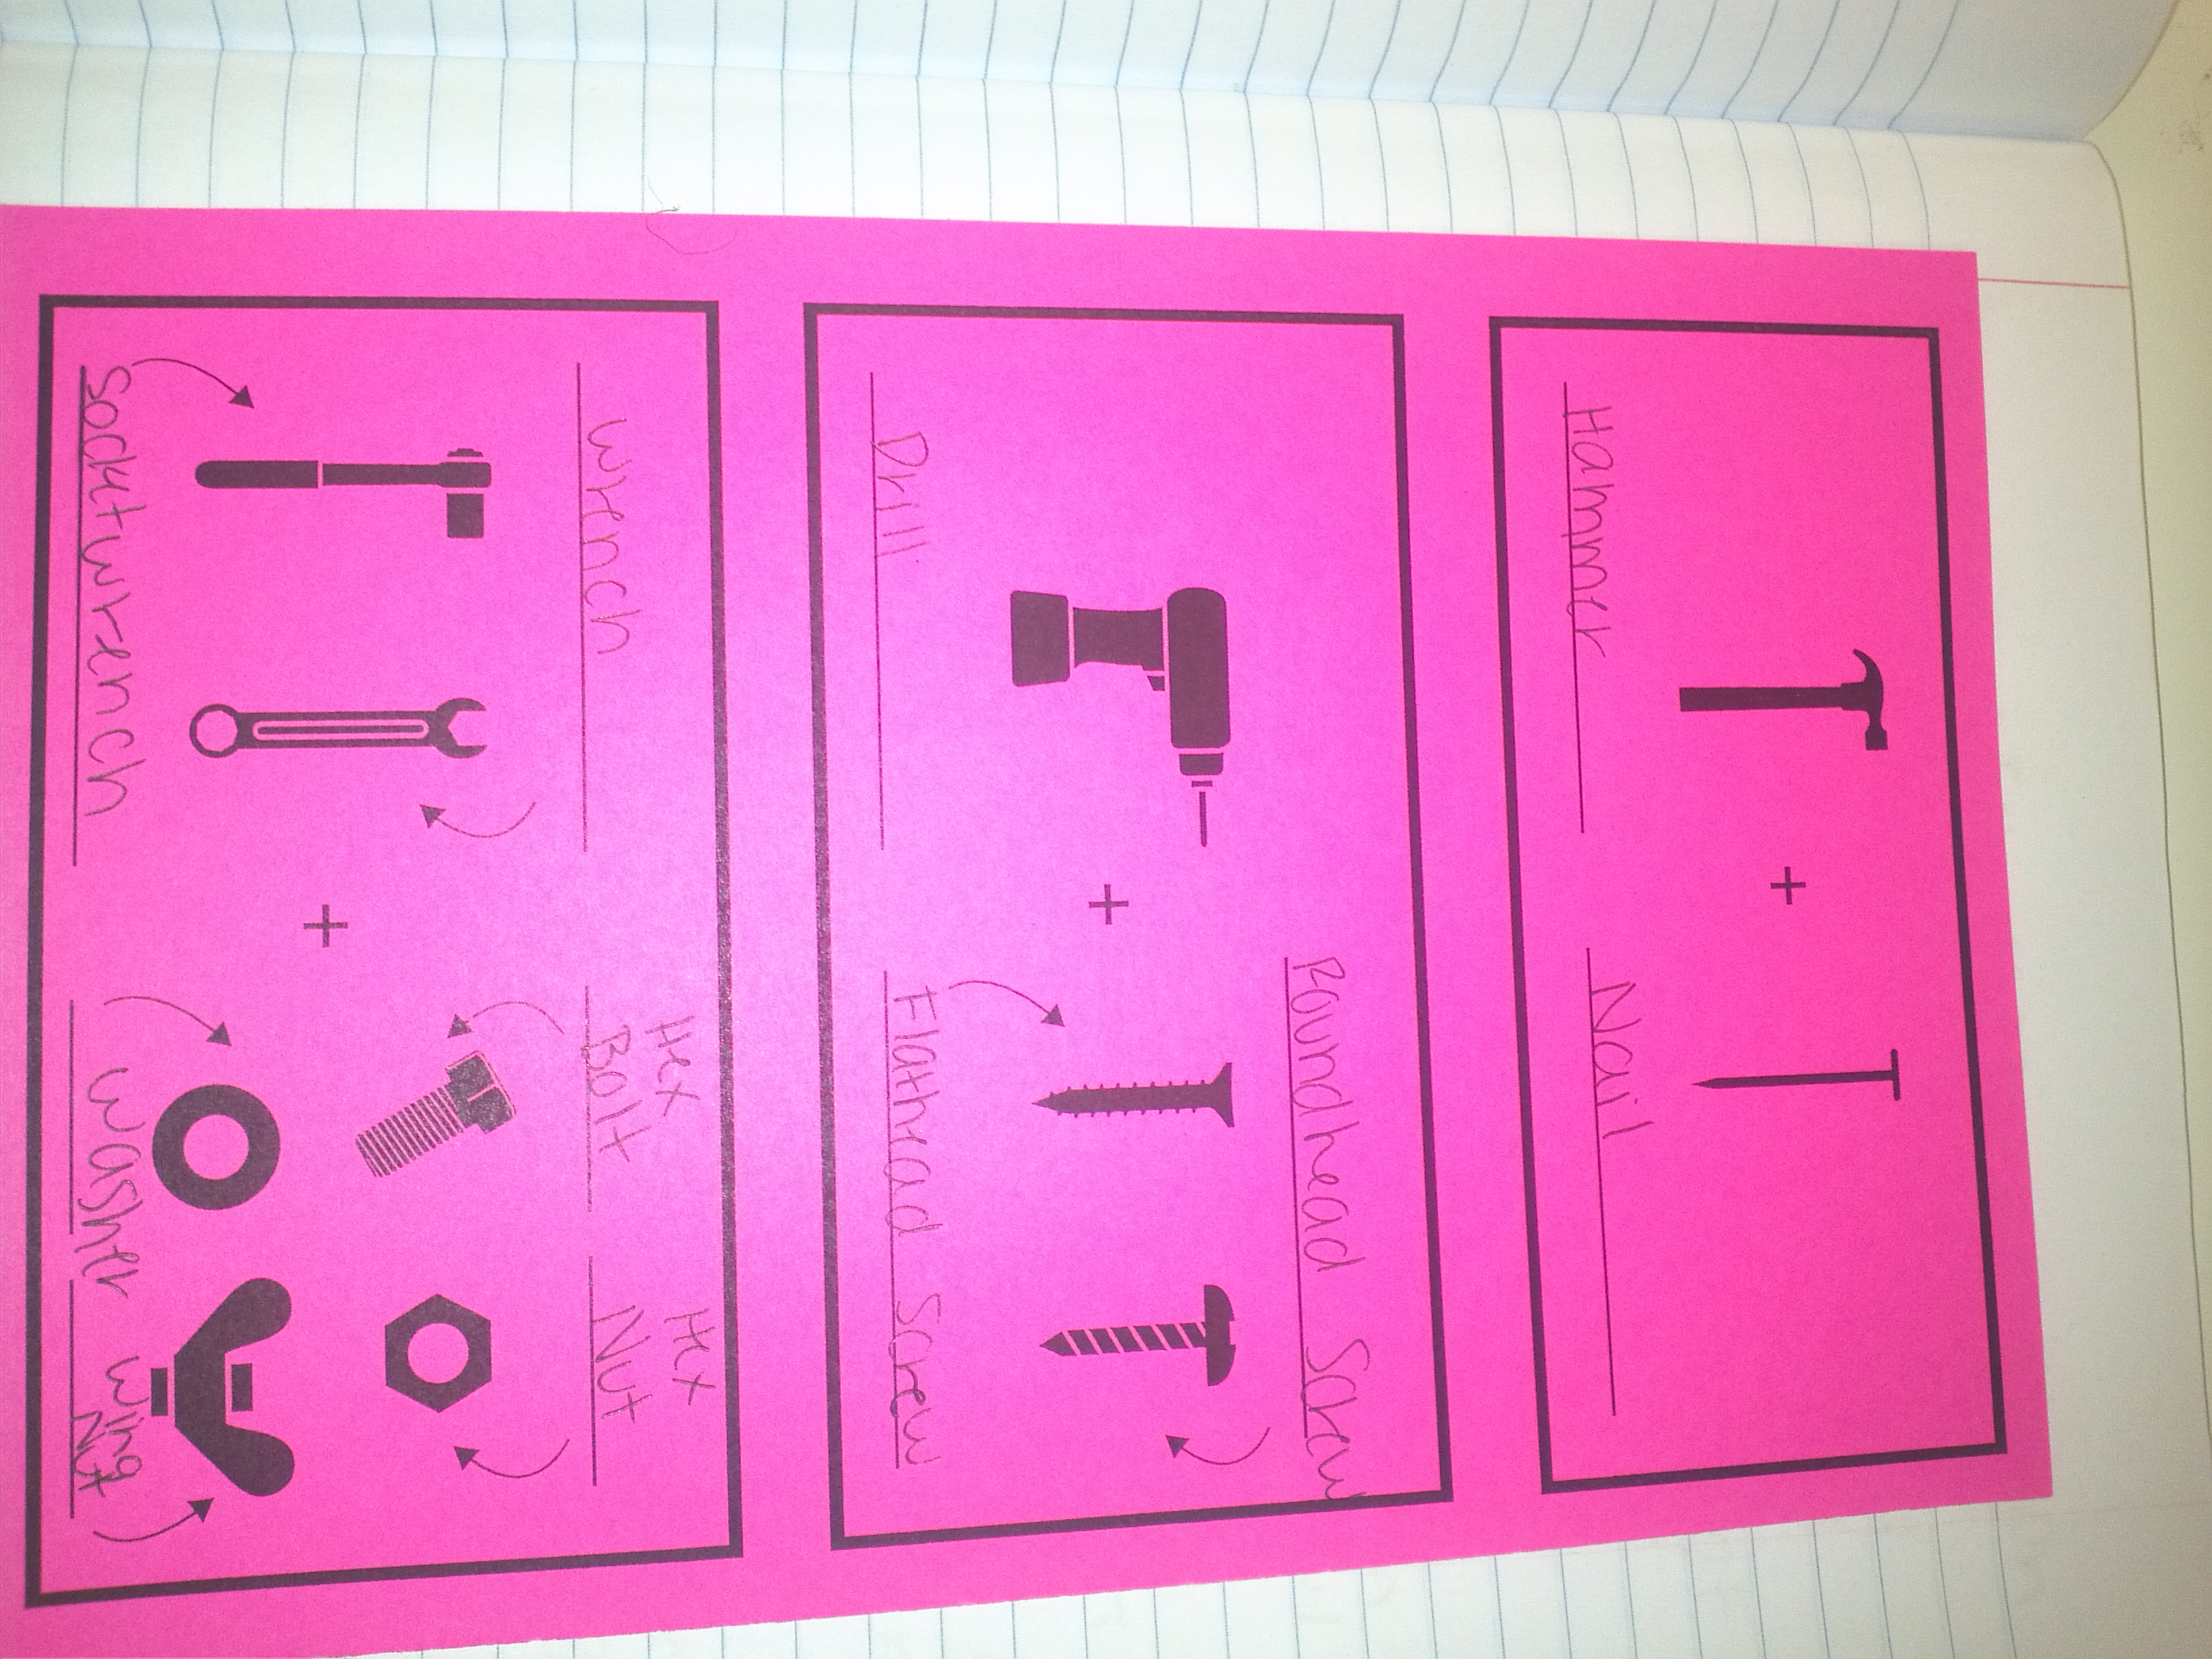
The second part of the module was making a tool card to show us the tools that we were going to use and to make sure that we knew what each tools looked like and the name of each of them. For this part we had to watch a video that told us about the different tools how to use them and what not to do with them. This is what the card looks like
.
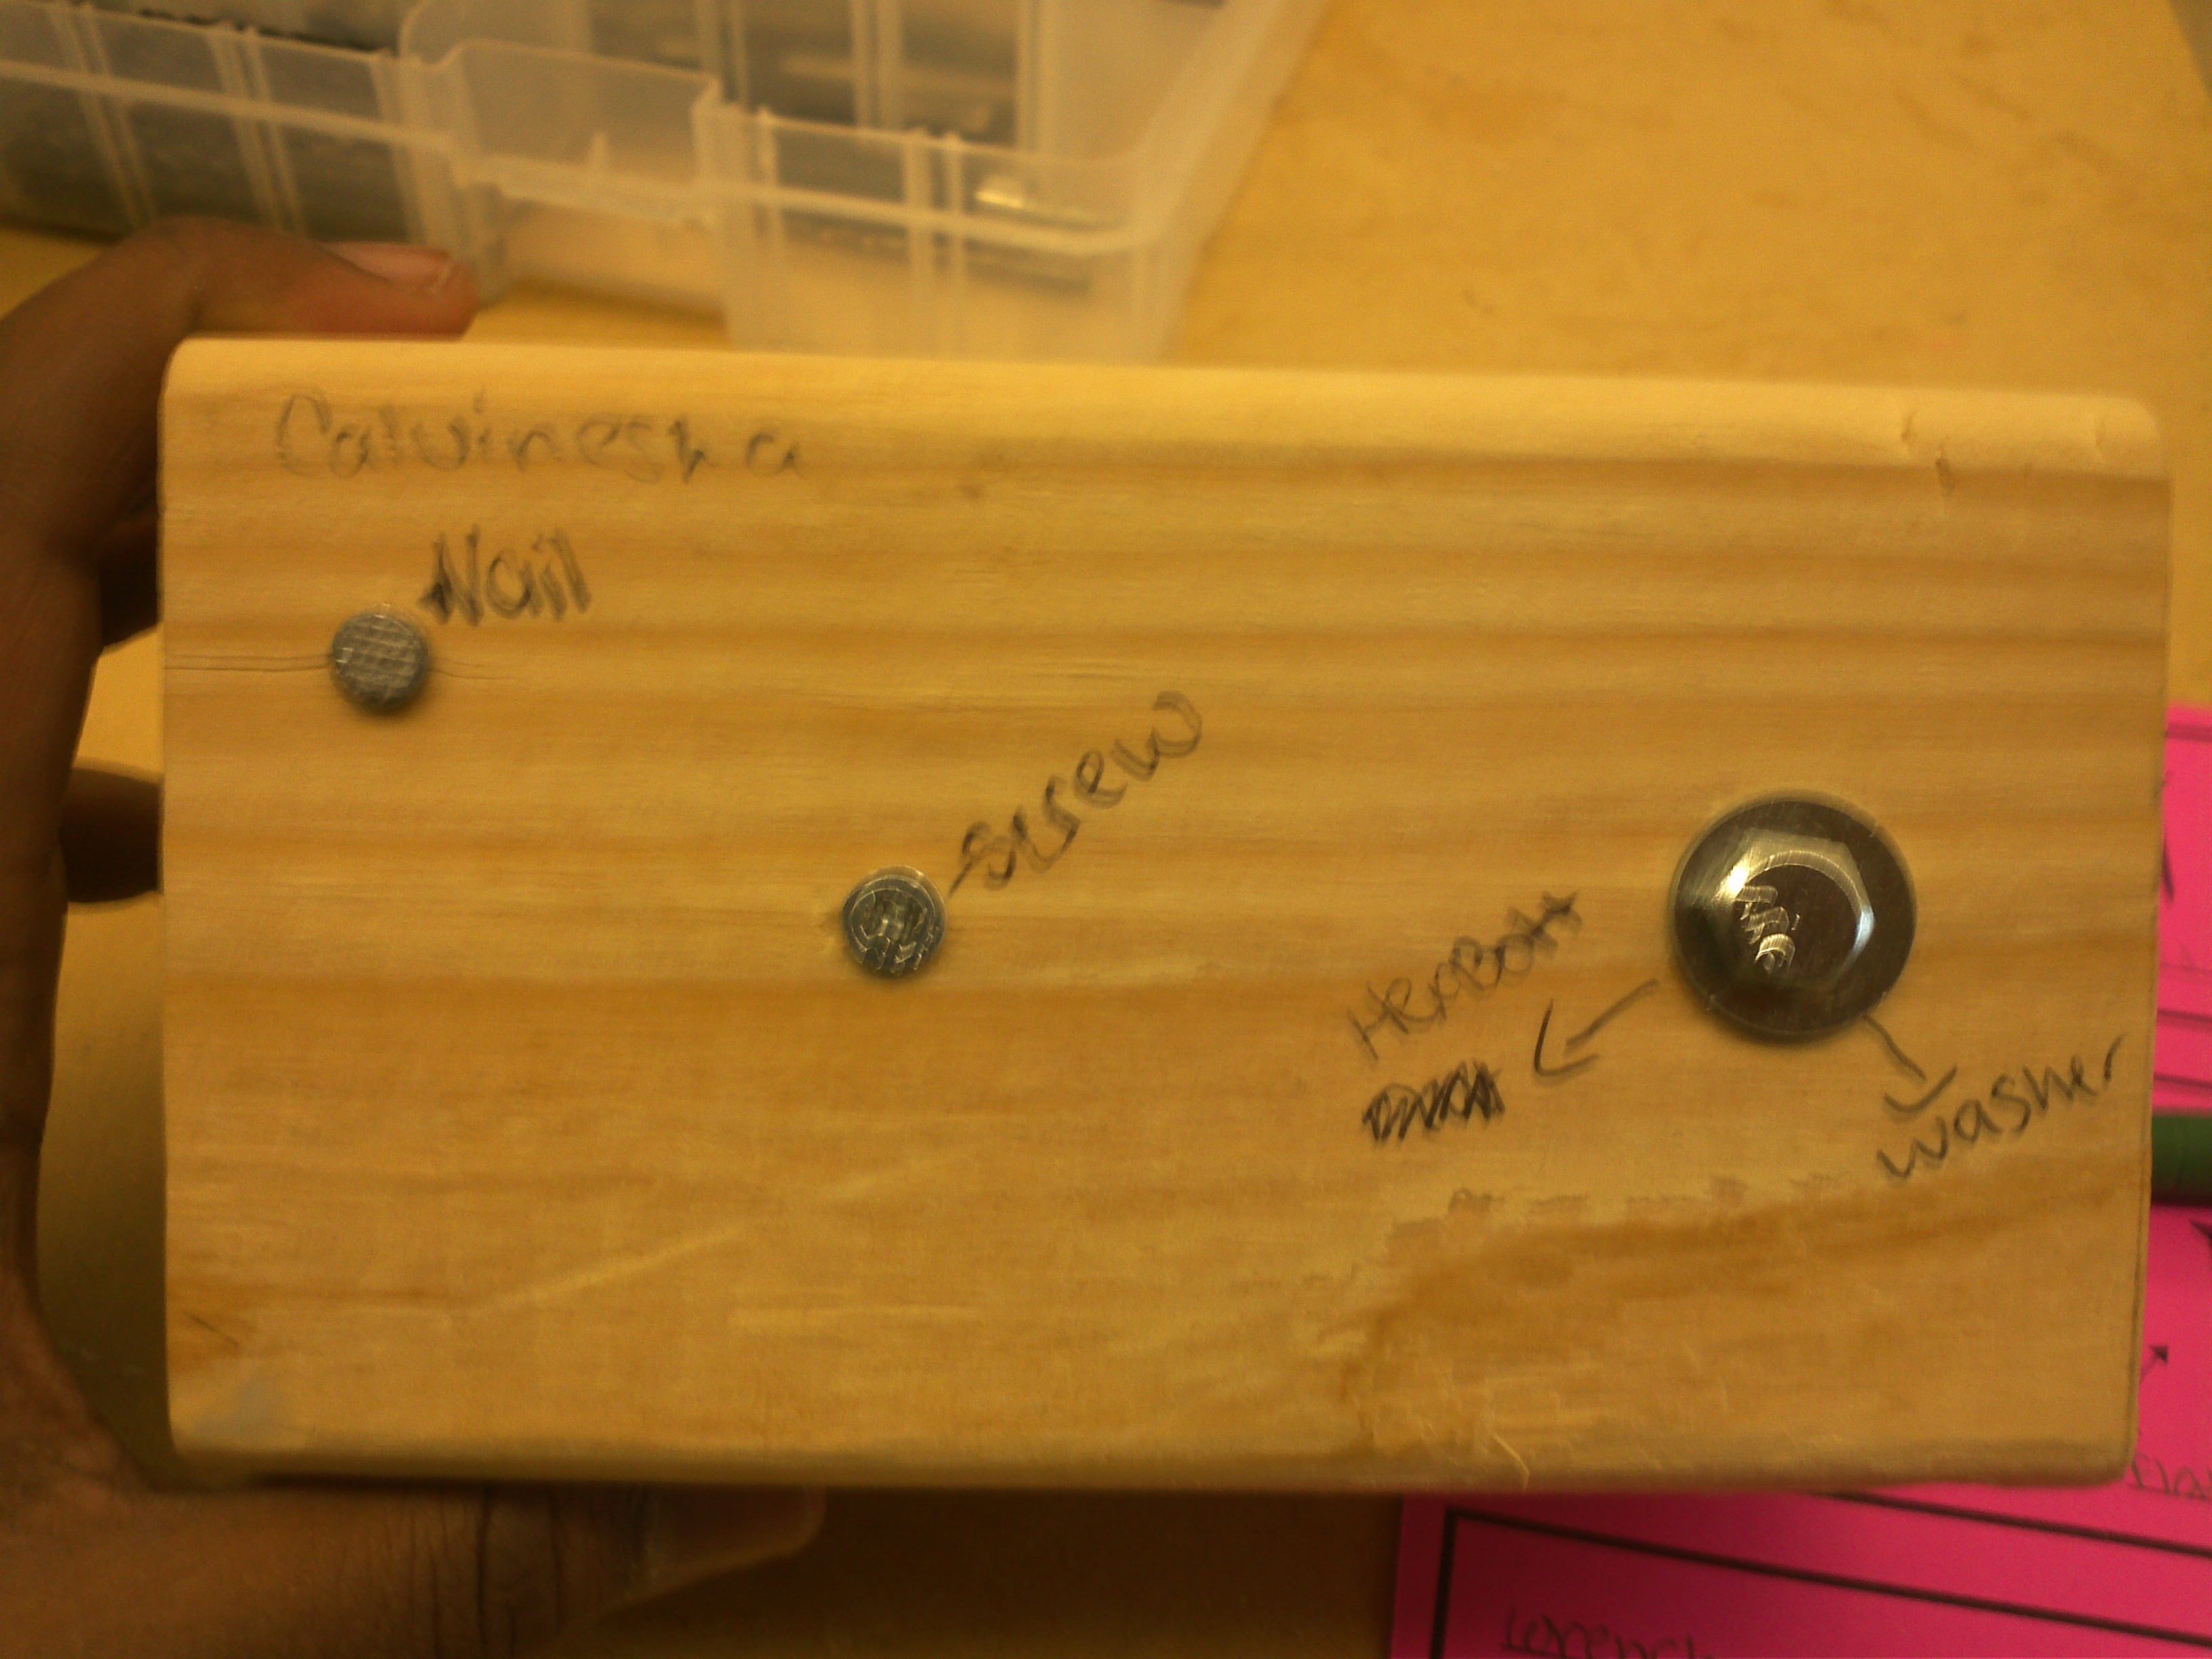
The next thing we did was we made a wood sandwich and we made the by cutting wood into 6” 2*4 pieces of wood. Then we gathered all of the materials which were
Sharpies for labeling,Sanding blocks,one nail, one countersink screw, one roundhead screw, one hex bolt, two washers, one hex nut, and one wingnut. After we go the materials we had to put everything together. So I put the nail on the board and i got the hammer and hammered the nail in just enough to the point it was flat against the top of the wood but not cut in. Then I put a little hole in the wood with the drill that after we put the little hole in the wood we would take the screw and finish the hole by putting the screw in there. At the end we would use the drill to make a hole all the way down the piece of wood and put a washer under a hex bolt and drop it hole and at the end I put a hex nut at the end so the hex bolt wouldn’t slip out. This is what the wood sandwich looks like.
The next part of the project was to build a right angle bird house. These are the materials. 6″ cedar fence board, cut into 6″, 9″, 12″, and 16″ lengths, 5/16″ wood dowels, cut to 2″ lengths, Twine, Spray paint, Wood glue, 1/4″ plywood, cut into 16″ squares. The first part of the birdhouse is that we had to make a technical drawing, then we had to gather all of the materials and the tools. These are all the tools we used,Brad nailer,brads, air compressor, Jigsaw, Drill with 5/16″ bit and 2″ forstner bit, Sanding sponges, Straight edges,Speed squares,Clamps,and an Air compressor. The first thing we did was cutting a couple pieces of wood and putting them together according to our technical drawing, then we clipped it all together with the clamps. After that we cut the rest of the wood and added it on and after that we finished the bird house off by spray painting it and using the air compressor we put some nails in the sides to make sure that it stayed together and we were finished. This is what the finished product looked like. 
By Calvinesha Harvey
